When I started to plan our wedding my first obstacle was that we didn't have a theme or a vision for the wedding. We knew we wanted the wedding color to be green but that's about it.
I decided to make a wedding inspiration board in Photoshop.
Since I'm new to Photoshop I had some trouble figuring this out. I thought I'd share the how to with you. Just in case you're new to Photoshop to.
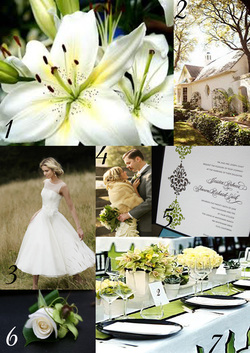
This is my wedding inspiration board
I love it so much
And best of all - now I have a better vision of how I want our wedding to be like
I decided to make a wedding inspiration board in Photoshop.
Since I'm new to Photoshop I had some trouble figuring this out. I thought I'd share the how to with you. Just in case you're new to Photoshop to.
This is my wedding inspiration board
I love it so much
And best of all - now I have a better vision of how I want our wedding to be like

Source
1. Can't find the source for this picture. Sorry
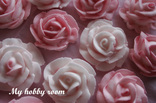
2. Green wedding shoes
3. Lyn Ashworth
4. Green wedding shoes
5. Oh So Beautiful Paper
6. White Lilac Couture
7. Simply perfect weddings
1. Can't find the source for this picture. Sorry
2. Green wedding shoes
3. Lyn Ashworth
4. Green wedding shoes
5. Oh So Beautiful Paper
6. White Lilac Couture
7. Simply perfect weddings
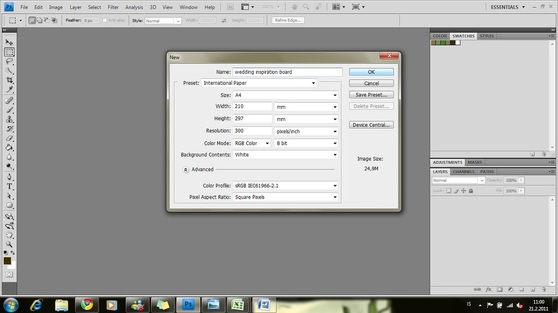
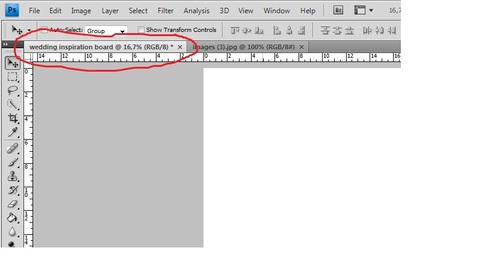
When making an inspiration board you need to open a new document to arrange your pictures on. To do this you go to File > new.
I chose to use a standard A4 size so I could print it out on my home printer.
I chose to use a standard A4 size so I could print it out on my home printer.
Next you need to open an image that you want on your board.
Go to File > open and chose the image that you want.
Enter Ctrl + A and you should see marching ants around your picture
Go to File > open and chose the image that you want.
Enter Ctrl + A and you should see marching ants around your picture
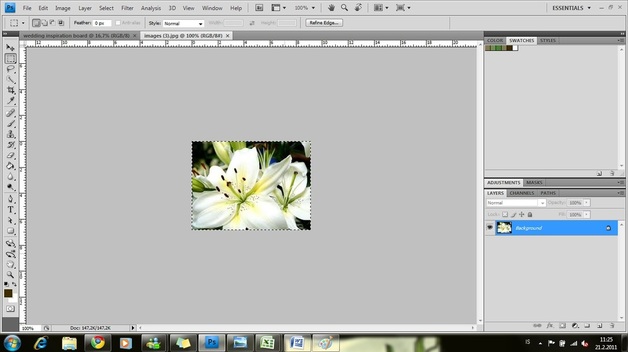
Now select the move tool and left click and hold on the image. Now drag the image over to your inspiration board.
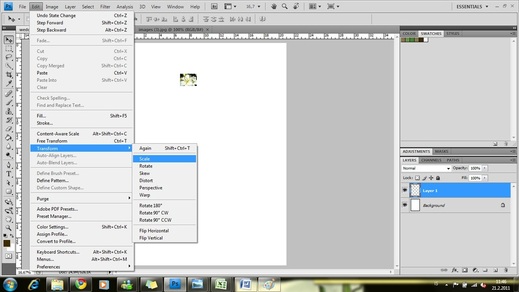
Now that you have an image on your inspiration board you need to be able to resize it and move it around
To resize it you select Edit > Transform > Scale. But make sure that you have layer 1 selected. That is where your first image is and if you want to make any changes to that image you need to have it selected.
To resize it you select Edit > Transform > Scale. But make sure that you have layer 1 selected. That is where your first image is and if you want to make any changes to that image you need to have it selected.
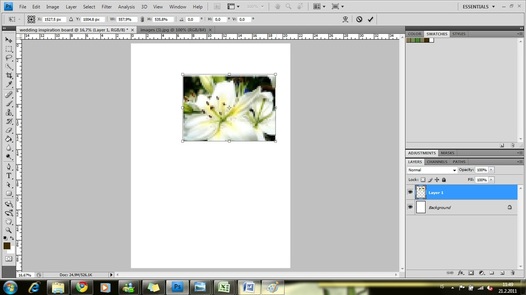
Now you will see handles on your image. Left click the handles to resize. Then press Enter when you are happy with the size.
Don't worry if it's blurry. This image will adjust after you press Enter. Unless it's a really small image.
Don't worry if it's blurry. This image will adjust after you press Enter. Unless it's a really small image.
To move your image around just select the move tool. Left click and hold while you move the image to it's place.
Now repeat these steps with your other pictures. Arrange the pictures nicely and add numbers if you want with the Text tool.
Just remember to have the right Layer selected.
Here is my wedding inspiration board again :)
Now repeat these steps with your other pictures. Arrange the pictures nicely and add numbers if you want with the Text tool.
Just remember to have the right Layer selected.
Here is my wedding inspiration board again :)
After I made this inspiration board I printed it out and placed it in a binder that I intend to keep all my wedding stuff in.
If you have any questions feel free to ask
But for now
Enjoy this DIY Wedding inspiration board tutorial
If you have any questions feel free to ask
But for now
Enjoy this DIY Wedding inspiration board tutorial


 RSS Feed