Gardening is my favorite hobby. There is just something about seeing new life starting to grow that makes me giddy and so HAPPY.
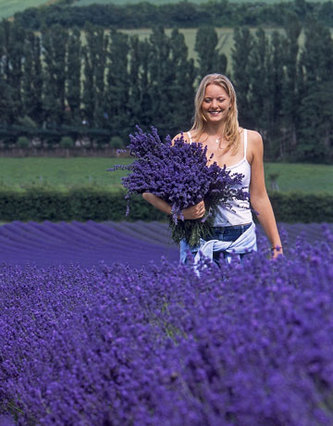
My all time favorite flower is Lavender. I have tried to grow it a few times but always failed terribly. I have always thought that the harsh winter and short summer make it impossible to grow here.
Until yesterday when I was watching a presentation of how to grow your own vegetables and herbs.
The woman who was holding the presentation grows Lavender in her own garden and it actually thrives. You can't imagine how happy this made me.
I guess I'm not the only person who likes Lavender because people were asking her a lot of questions. And this is what I found out.
She doesn't shelter her Lavender plants through winter nor feed them any fertilizer. She said that her secret is drainage. We have really wet autumns and therefore it isn't the cold that kills these plants but the water retention in the soil.
She grows her plants in plain perlite.
So... I decided to give this another try.
I planted some seeds in a seedling potting soil. I know it is rather difficult to grow them from seed but I had to give it a try. I'll just buy a plant from a nursery that she told me about if this doesn't work
I plan to transfer the seedlings to plain perlite if they sprout.
And hopefully I can soon walk through a field of Lavender
Source: Country LivingOhh I can smell it alreadyLots of love
When I started to plan our wedding my first obstacle was that we didn't have a theme or a vision for the wedding. We knew we wanted the wedding color to be green but that's about it.
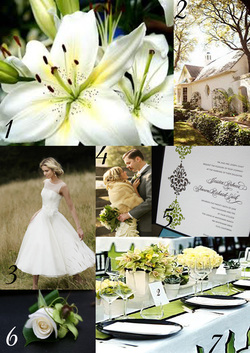
I decided to make a wedding inspiration board in Photoshop.
Since I'm new to Photoshop I had some trouble figuring this out. I thought I'd share the how to with you. Just in case you're new to Photoshop to.
This is my wedding inspiration board
I love it so much
And best of all - now I have a better vision of how I want our wedding to be like
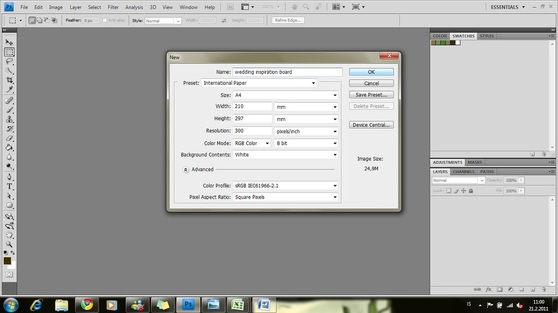
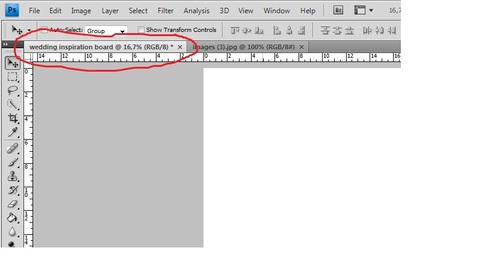
When making an inspiration board you need to open a new document to arrange your pictures on. To do this you go to File > new.
I chose to use a standard A4 size so I could print it out on my home printer.
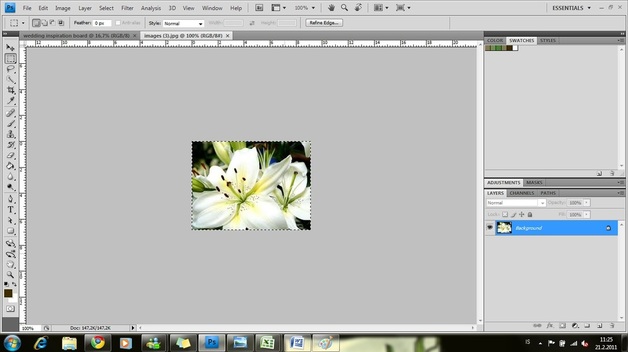
Next you need to open an image that you want on your board.
Go to File > open and chose the image that you want.
Enter Ctrl + A and you should see marching ants around your picture
Now select the move tool and left click and hold on the image. Now drag the image over to your inspiration board.
Now that you have an image on your inspiration board you need to be able to resize it and move it around
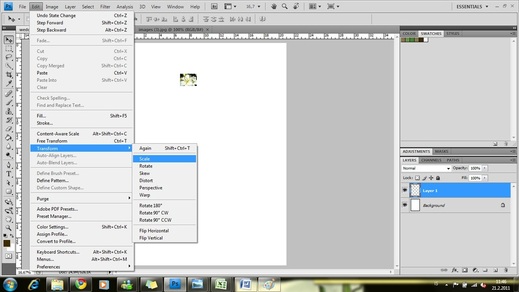
To resize it you select Edit > Transform > Scale. But make sure that you have layer 1 selected. That is where your first image is and if you want to make any changes to that image you need to have it selected.
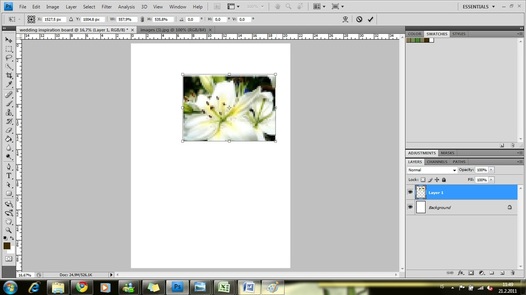
Now you will see handles on your image. Left click the handles to resize. Then press Enter when you are happy with the size.
Don't worry if it's blurry. This image will adjust after you press Enter. Unless it's a really small image.
To move your image around just select the move tool. Left click and hold while you move the image to it's place.
Now repeat these steps with your other pictures. Arrange the pictures nicely and add numbers if you want with the Text tool.
Just remember to have the right Layer selected.
Here is my wedding inspiration board again :)
After I made this inspiration board I printed it out and placed it in a binder that I intend to keep all my wedding stuff in.
If you have any questions feel free to ask
But for now
Enjoy this DIY Wedding inspiration board tutorial
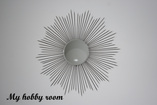
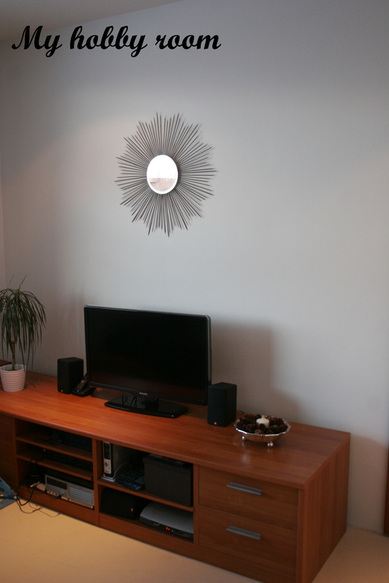
A while ago I found this amazing DIY sunburst mirror tutorial on Stephanie Lynn's blog, Under The Table and Dreaming. From that moment on I fell in love with her blog. Most of her projects are home decorating projects and she is so kind to share all the instructions for making them.It's an inspiration heavenHere is the mirror I made... I followed her instructions for making the mirror. It was fairly easy to do but I made one mistake. I decided to use wooden skewers that I had at home. It's always good to use stuff you already have, right? WRONG
I ran out of skewers when I was halfway through with gluing them on and I couldn't find the exact same kind again.
So I had to take the whole thing off and start again.
But.... I have a brand new sunburst mirror and it was totally wort the effort. The plan was to hang it over our bed but after making this I realized that it wasn't a good idea at all. These things are seriously poky. And I didn't want our eyes to bee poked out if it fell down from the wall.
Luckily we have a surplus of empty walls in our apartment :)
And we found a place for the mirror above our television.
I'm so happy with the result.
What do you think? Have you made a sunburst mirror?
Lots of love
So it's official... I'm getting married
Thats right. Oddur and I finally decided to take the plunge. We met seven years ago and since then we have been blessed with two beautiful children.
You might find that weddings here in Iceland are different from weddings in other countries. Well not much like weddings in Hollywood movies and BRIDES magazine at least. Which is how
I picture weddings in other countries.
Weddings here are more relaxed and a lot cheaper than those weddings that you read about in magazines or see in movies.
So the plan is to have a small, summer, wedding with only our closest relatives and friends. We also intend to do most of the work ourselves.
But still... there are just some things that a girl has got to have in her wedding. After all.... you only marry once ;)
This might just turn into a DIY wedding blog.
... but where to start?
Lots of love
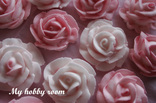
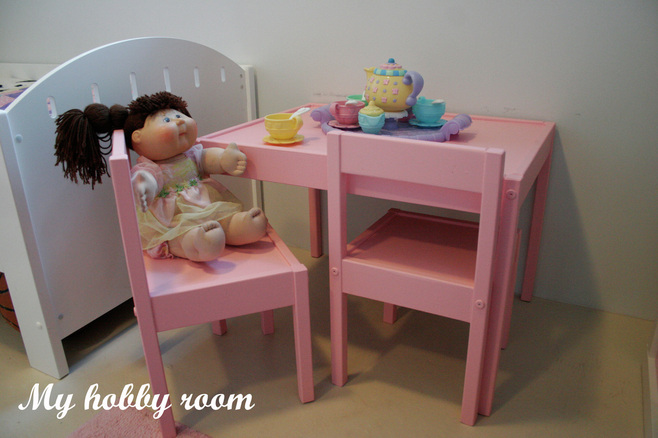
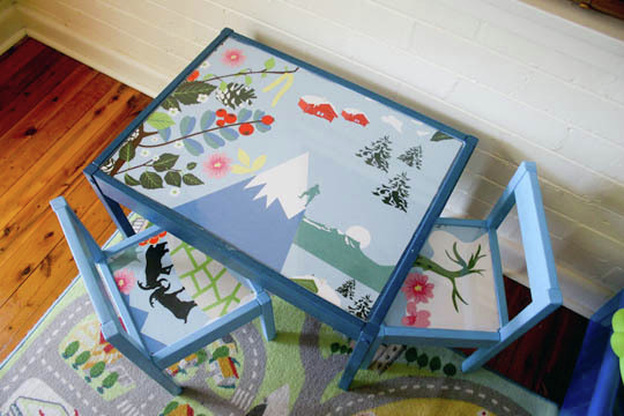
It has bean raining cats and dogs the last few days so I thought it was the perfect opportunity to stay inside and paint. My daughters play table and chairs were getting a bit worn out so I decided to give them a redo. When I asked my daughter Helena which color she wanted she replied "PINK" without a thought. I wasn´t surprised since my soon to be 5 year old daughter insists on being called a "princess".
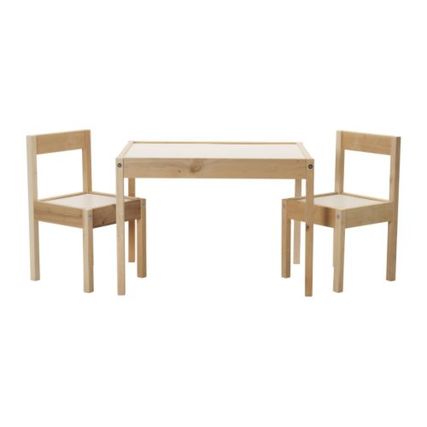
My better half was out of town and had our camera with him so I didn´t get the chance to take a before picture.
But this is what it looks like new from the store...
Well ours wasn´t new from the store. It had crayon marks on it, food stains and paint chipping off.
So off I vent to the hardware store to buy some pink paint. To find the right shade of pink I took a pink paper napkin with me. This napkin was the shade that I wanted so when I was at the store I just found the closest color to the color of the napkin. Trust me its not as easy as you think to pick the right color from 10 different shades of pink.
This is how it looks like today...
I might paint some images on it later or put some fabric on it like you can see here...
But for now I´m liking the change.
The hardest part was: waiting for the paint to dry
My only regret: Not painting it years ago


 RSS Feed