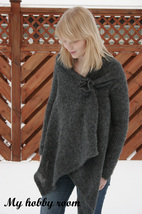
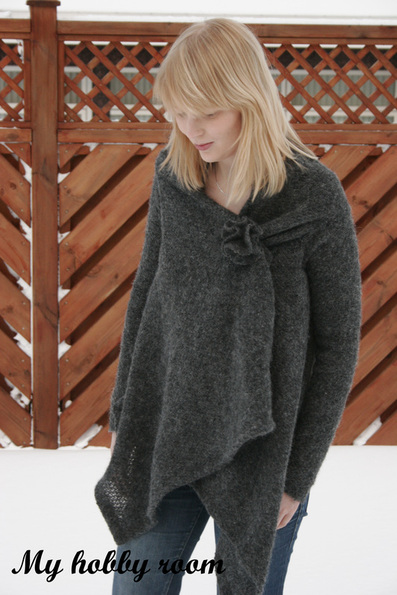
I have been dreaming of making a wrap sweater for a while now. I have one that I love and use all the time, especially after my little baby girl was born. It´s just perfect to wrap around you and your little one while nursing. This sweater is so easy to make that I figured it would be perfect as my first tutorial.
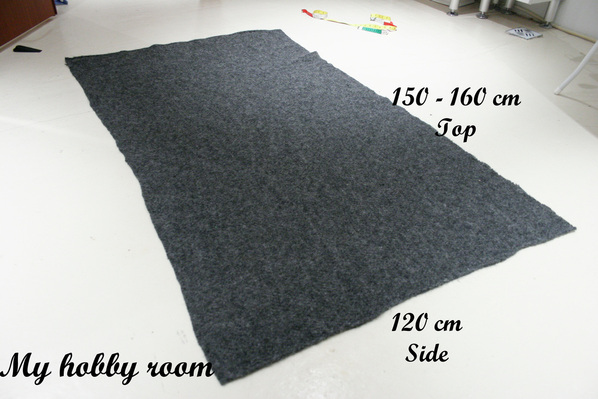
I used knitted Icelandic wool for this. You can use whatever fabric you like but I recommend a fabric that looks good on both sides and has a little stretch. I bought 120 cm ( I only used about 1m) and the with of the fabric was about 150-160 cm.
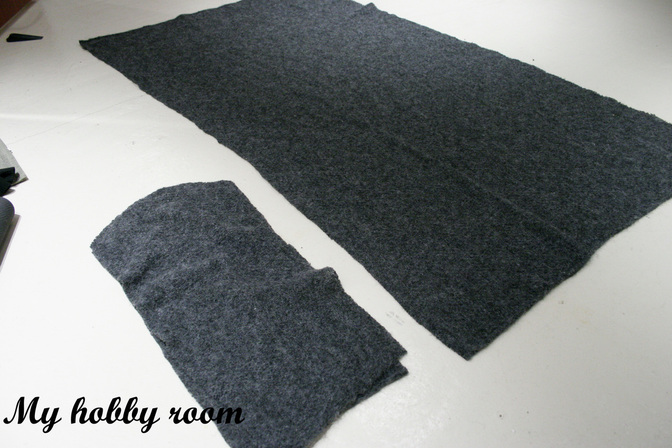
This sweater is basically a rectangle with sleeves. I´t cant get much simpler:)
You are going to need to leave the with of the fabric (the 150 - 160 cm) as it is but cut sleeves from the bottom.
This sweater is basically a rectangle with sleeves. I´t cant get much simpler:)
You are going to need to leave the with of the fabric (the 150 - 160 cm) as it is but cut sleeves from the bottom.
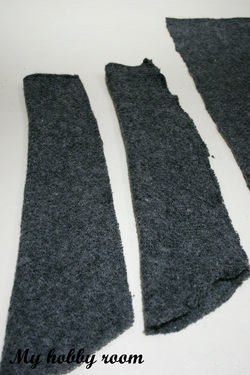
Use a sleeve from a sweater that fits you well, as a pattern. Place the sleeve on the fabric like shown on the picture.
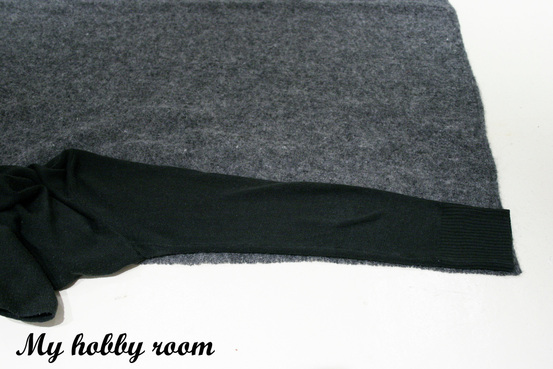
Then turn your sleeve over and cut. But be sure to add seam allowance. Cut two sleeves from the bottom of the fabric.
Note: If the ends of the fabric are not finished you should leave a hem allowance as well.
Another note: I´ts better to make the sleeves to big than to small. You can always make them smaller later.
Note: If the ends of the fabric are not finished you should leave a hem allowance as well.
Another note: I´ts better to make the sleeves to big than to small. You can always make them smaller later.

Next your need to cut a rectangle from your remaining fabric. You can have this the size you like but mine was 160cm x 95cm. This was way too bulky at the front so I shortened it a bit. The finished sweater measured 160cm x 72cm after hemming. I forgot to take pictures of the back of the sweater but it´s short at the back. This is so the front doesn´t get to bulky.
Now you should have a rectangle and two sleeves. This is how mine looked before I shortened it.
Now you should have a rectangle and two sleeves. This is how mine looked before I shortened it.
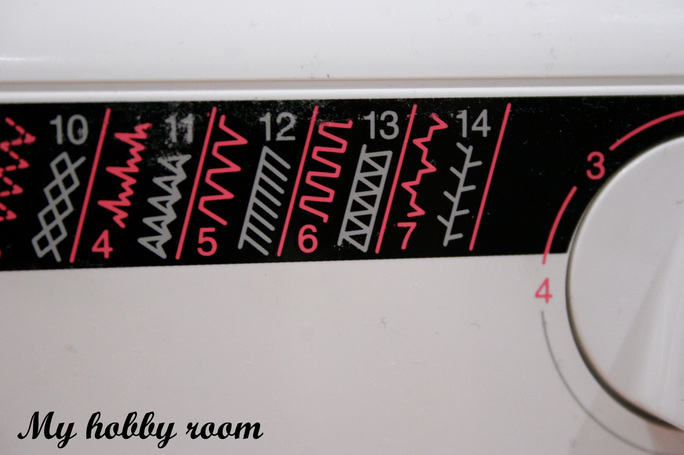
Now we can start sewing. I used stitch number 13 on my sewing machine, it´s called an overlock stitch. You can see on the next photo what it looks like. You might have to adjust the tightness of the thread. Check the sewing machines manual for this.
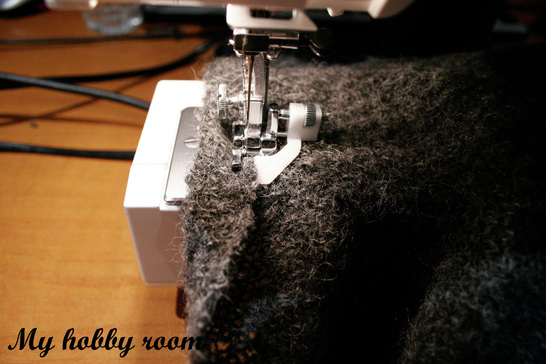
Now you will sew the sides of your sleeves together. Like on the picture below. Notice how the sleeve on the right side is kind of frilly? This is when you need to adjust the tightness of your thread. I recommend trying this on a peace of scrap fabric first.
Now you need to hem your sweater. I used a special sewing machine foot that is called adjustable blind stitch foot. You can see it on my next photo. This makes your hemming look nice from both sides. This is important because you see both sides of this sweater. Hem all sides of your rectangle.
Ok so now all we need to do is attach the sleeves to the sweater. I made a pattern by tracing the top of my sleeve. Then I folded my sweater in half and placed my pattern 15cm from the middle (adjust to your size) and 17 cm from the top.
Note: I would measure between the armholes on a jacket or sweater to determine where to place the sleeves.
Note: I would measure between the armholes on a jacket or sweater to determine where to place the sleeves.
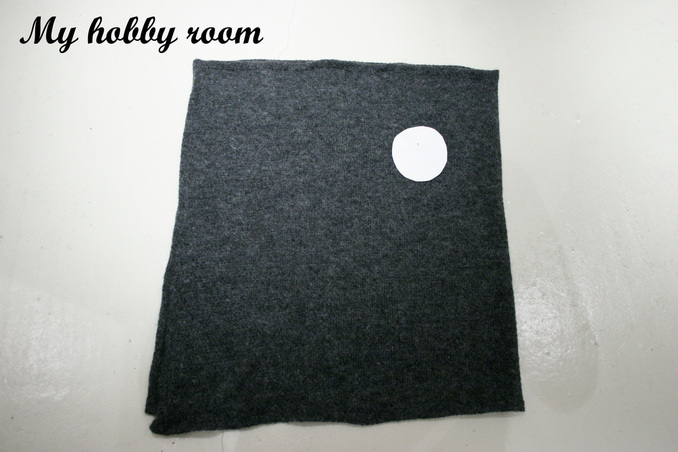
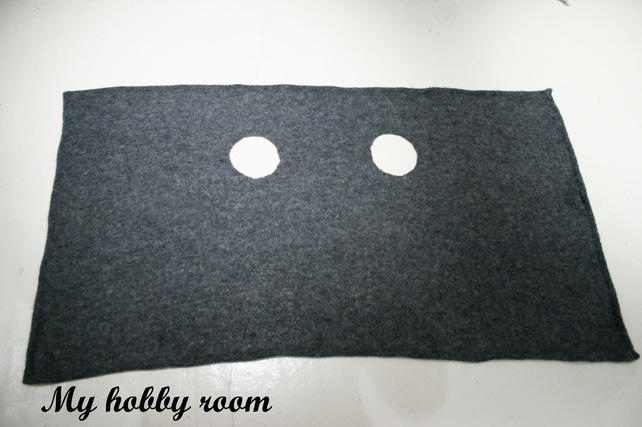
Now cut holes in your fabric where your pattern is. Remember that its better to cut your holes to small than to big. So start small.
Save the scrap fabric from these holes. I´m doing a tutorial later on how to make a flower brooch from these.
Save the scrap fabric from these holes. I´m doing a tutorial later on how to make a flower brooch from these.
Now all you need to do is attach the sleeves to the sweater. Pin first and then sew them on using the overlock stitch. Now you have a brand new wrap sweater :)
Enjoy...
Enjoy...
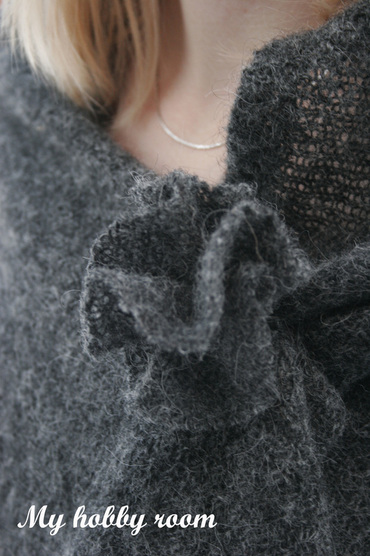
Come back later for a tutorial on how to make this flower brooch from the cut-outs for the armholes.
I'll be linking up to...
I'll be linking up to...


 RSS Feed